In previous years I have hung mini lights on cup hooks around my windows. With every year's display getting bigger and bigger, My time is getting shorter and shorter. So I'm trying to come with time saving display elements. So I started to research window frame light holders. I found a few items on the web, but nothing I liked. I was looking for something I could just drop in and not have to permanently install on the house. It's Christmas at our house for enough months of the year.....
I also wanted to be able to change the color of the windows with the computer. This required 3 circuits / channels for every window. Since I couldn't find anything like I wanted or as cheap as I wanted, I decided to make it!
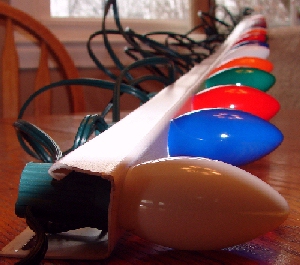
This is my first attempt at creating a frame. This was an experiment and this 4' section was tested for 48 hours with all the lights on on two 90 degree days. To make it, I took a piece of vinyl "J"channel used for siding on a house. I drilled holes every 3", nearly the size of the width of the "J" channel itself. Then the light bulbs are simply screwed into the socket through the "J" channel, holding them in place.
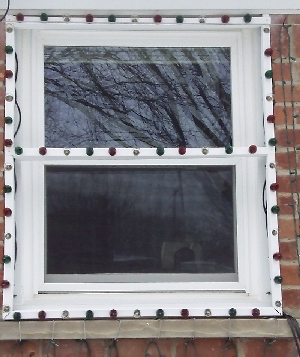
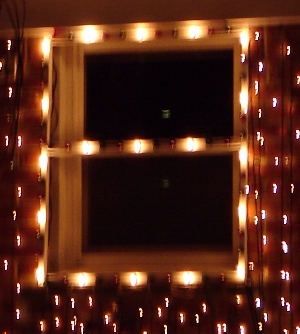
These pictures of our front entryway window. It uses PVC (Vinyl) siding "J" channel for a frame. It has three different color light circuits. There's white ,red, and green. I control the colors by turning on individual channels with the computer. The frame is made to fit the opening in the brick for the window. It is extra long on the top to fit in behind the fascia trim. This allows the light frames to be installed in just a few seconds each. The C-9 bulbs are much brighter than the mini's I used to use. A standard string of mini's that I use is about 40 watts. Nineteen C-9 bulbs are 133 Watts. The lights are spaced 3" apart with 3 colors so the like colored bulbs are spaced 9" apart.
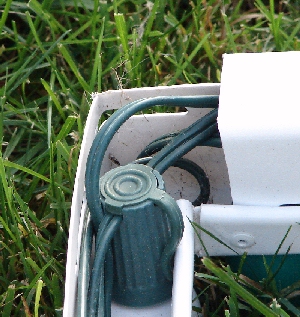
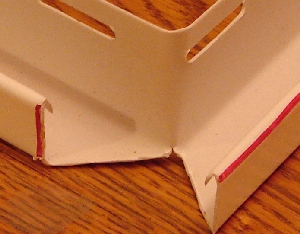
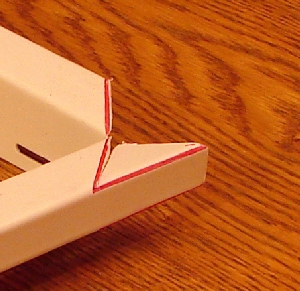
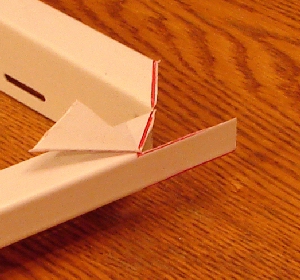
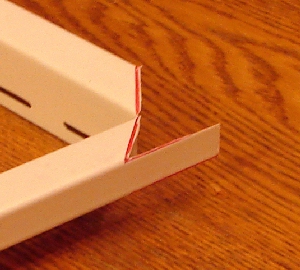
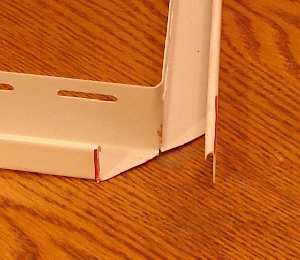
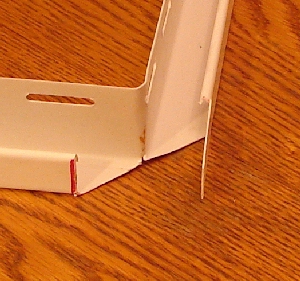
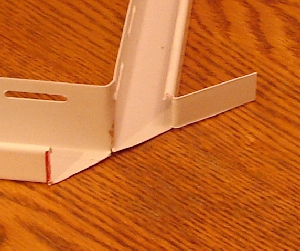
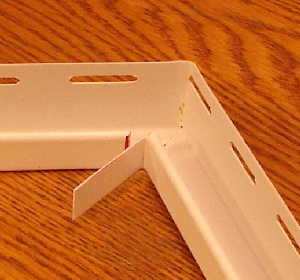
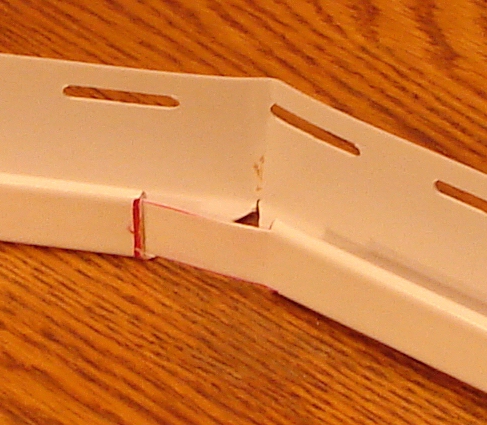
To make the mitered corners strong the one side was kept intact. Which meant a tricky cut. Here's how it turned out. You can also see how the socket fits into the "J" channel. The clips on the socket also work nicely for an anti rotation device to keep the socket from rotating while installing the light bulbs. Only one pop rivet is required in each of the mitered corners.
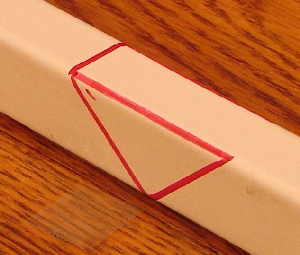
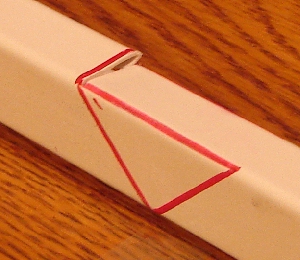
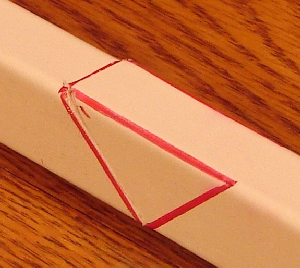
This is how I cut the mitered corners so that only 1 pop rivet is required to hold it together.
I started by marking these lines on the J channel.
This is the first cut needed to be done. Use tin snips to do this easily.
The next cut is at the 45. It's hard to see here.
to do the next cut you need to fold the J channel on it's wide side.
The fold allows easy access to the next cut.
This shows the triangle piece being cut out.
Now you can see the tab sticking out. It has some excess material that still needs to be removed.
This picture shows the extra material that needs to be removed.
Cut that last piece out. This will allow the tab to be inserted in the other side of the frame.
To make sliding the tab in easier, bend it back like this.
The corner is almost done.....
Insert the tab into the J shape in the side adjacent to the tabbed side.
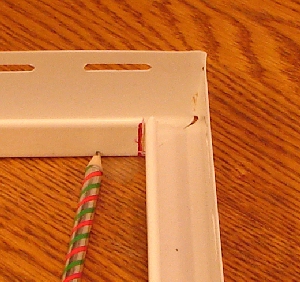
The corner is all done except for the 1/8" hole and pop rivet where the pencil shows.
I also made long strips and binder clipped them to the eaves trim. I wanted to have white, red, green, blue, and orange lights. So I had to drill holes every 1.8" all the way across the front of the house. This spacing ensured that the spacing matched the windows. Once those were mounted, I hung the strobes every 18" underneath with binder clips.
